I think it’s fair to say that online shopping is now the new norm, and while we are shopping online, inevitably we are taking some risks: we don’t know the particular cut and style of an item, so there is always the possibility that the pants we order are not a perfect fit for us. Should you bother shipping it back then and wait anxiously for a better fitting size to return, or can you just take the matter into your own hands with needles, threads, and your indubitably better judgment about your size?
Moreover, there has always been the possibility that the pants you just bought might turn out too long for you even though you went and bought it from a physical shop because it felt too cumbersome to try it on there. Shall I also tell you about the slight chance that your husband/partner keeps buying pants larger in size to be able to wear them next year when he/they grows up because his/their self-perception is no better than that of a child’s? At that moment, can you be cruel enough to dissipate his/their self-perception and shatter the fantasy world they are living in, or are you going to say: “Well, let me hem it for this year and we can de-hem it next year when you grow up, darling”?
If you opt for the latter even for one of these scenarios I presented and are just a beginner in the world of hemming, then let me help you by walking you through the steps of how to hem without a sewing machine.
A Motivational Speech for Beginners
Dear beginners and those who are even reluctant to begin hemming pants by their hands and seek reasons for not doing that by going through the internet trying to prove how difficult the process is!
Please do not worry! Once you are comprehensively introduced to the process of hemming and how it may ease your life going forward, there will be nothing stopping you from fixing anything stitchable and moving forward with more vigour through life.
Let me clear a potential confusion before beginning, though: the process doesn’t vary for scrubs, jeans, or any other type of pants. These are the basics that will efficiently get the job done, no matter what kind of pants you have.
Step 1: Un-pick the Inseam
Okay, I might have started this guide with a bit of excitement, and our first step is anything but exciting because those inseams at the existing hem of the pants you are going to work on are probably very tiny and you have to un-pick them one by one.
If you already have tiny scissors in your possession, that’s good – they can do the job. However, if you don’t, you might have to go and find a seam ripper (a distant cousin of the grim reaper), which is a product specifically designed for this job. Once you have it, you can start by un-picking the stitches in the hem in a very controlled manner as if the fabric is the only fish in the sea (that is, if you don’t own or work in the upper echelons of an oil company). After that, you can pull out the spare thread carefully.
Step 2: Get Your Measurements
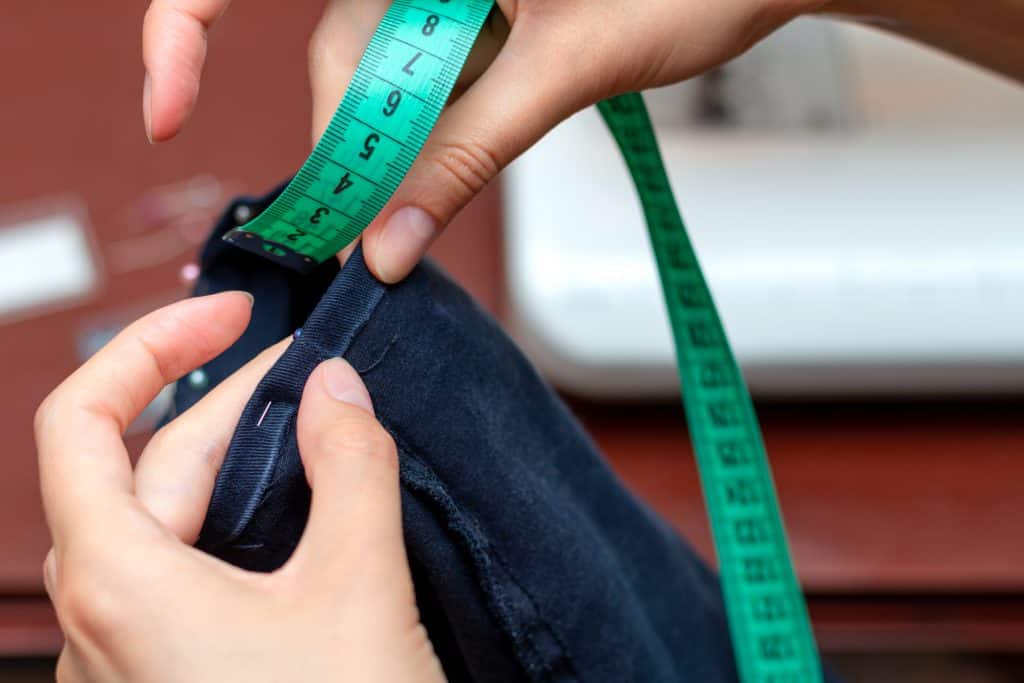
This step is quite easy if you are getting the measurements for yourself. Just put on the shoes that you are planning to wear with the pants, step in front of a mirror, and see how long you want it to be after the hemming. When you are satisfied with the length, pin it and take off the pants.
If you are working on someone else’s pants, on the other hand, you have to put up with their movements, anxiety, and oblivious questions. Don’t mind them. You are the master of this art and they are at your behest.
Step 3: Fold the Legs Up Evenly
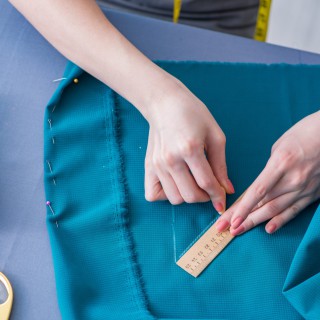
Some people I know do not take this step seriously and end up with uneven legs on their pants. If you don’t want to be one of them, have a ruler ready and measure all the way around the leg while you are folding it to your desired length. When it’s all even, put needles through so that it’s not undone and you don’t have to repeat the process.
Step 4: Get More Measurements to Create the New Hem and Remove Excess Fabric
Generally, the recommended hem length is two or two and a half inches (five or six centimeters), but it actually depends on how much of the existing fabric you folded to create the new hem. Of course, if you have enough fabric, leaving two inches in its place shouldn’t be a problem, but it wouldn’t really matter if you went a bit below it, either.
If there is any fabric left after the measurement, cut it off in a straight line all the way around the leg of your jeans or pants.
Step 5: Iron It
I hope you didn’t get your fingers or palm pricked by all the needles and pins I told you to put in the hem while getting the measurements. If you did, I think you should take a break, and if you didn’t, you don’t need to worry about them any longer because the time has come for removing them.
After you remove them, you should turn the pants inside out for ironing. Again, fold it as recommended on our fourth step and apply iron.
Step 6: Prepare for Stitching
First, prepare the new hem for stitching by reintroducing the pins to the now ironed hem. Then, prepare the needle and thread you are going to stitch with. Secure the thread to the eye of the needle by tying some extra knots.
Predictably, people who are into sewing and stitching will recommend you use a thread the same color with the pants, but I hardly see the point of that. In my book, you are allowed to use whatever color you want. They’re your pants after all.
Step 7: Stitch!
Thread the needle to the top of the hem through the fabric of the leg and keep on stitching in short intervals so that the end-product is sturdy. While doing that, don’t forget to hold firmly on to the bottom of the hem so it doesn’t come undone and you have to redo all the measuring.
Once you have completed the stitch all the way around the leg, iron the hem again. Of course, you may want to iron the whole leg too, since it might have creased during the process.
Step 8: Do It on the Other Leg!
You weren’t probably going to do it if I didn’t say it, right? Well, that’s why I am here as a friend who’d be right beside you in both good and bad and as a mentor who’d always keep an eye on you.
And, yes, you need to repeat the whole process on the other leg unless you have a skewed sense of fashion or a knack for practical jokes to play on your partner and their pants.
Step 9: Get Out and Shake a Leg (and Break a Leg!) Because You Totally Deserve It!
Well, first of all, congratulations! You just completed a tedious job on pants produced by a company that has no idea what human legs look like. Therefore, I believe you have every reason for going out and celebrating this success by shaking a leg and showing off the beautiful new hem you brought into existence by the effort of your own hands. That is going to work wonders especially if the pants you have are bell-bottomed. OMG, you look so good in them!
FAQ: How Long Does It Take to Hem Pants?
For professional hemmers, it shouldn’t take any longer than half an hour even when the pants are on an uncooperative subject during measurement. For beginners, it might take a lot more than that, but if you follow the guide thoroughly and watch video tutorials to ensure you are getting everything right, it shouldn’t take more than a couple of hours even if it’s just your first acquaintance with needles and threads.
Final Thoughts
Earnestly speaking, I believe the easiest way to deal with long pants legs, whether they are scrubs or jeans, is the hemming way (get it? get it? get it?) – that is, of course, given you have the time and tools for that. There are always going to be people who’ll try to discourage you by saying it’s too much time and work when you can just replace it by taking or shipping it back to the shop, but not all shops have great return policies.
Either way, though, once you read through my guide, you’ll see that acquiring the skills for and achieving a result by hemming by hand is not that difficult. Moreover, once you have enough experience working on your and your family’s pants and bad sense of size, you may move onto a wider circle and become a master hemmer. That way, you’ll be able to make some money in due time.


